Access Raspberry Pi Remotely Over Internet Free: Your Simple Guide For June 2024
Ever wish you could get to your Raspberry Pi, no matter where you are? Maybe you’ve got a cool home automation project going, or perhaps a little personal server humming along, and you just need to check on it or tweak something while you’re out and about. Well, good news! You can absolutely access Raspberry Pi remotely over the internet free, and it’s probably easier than you think. This guide will show you how to set things up, so you can control your tiny computer from pretty much anywhere, and it won't cost you a dime for the basic setup.
Think about it: your Raspberry Pi could be tucked away in a closet, handling tasks like a media server, a security camera hub, or even a weather station. Being able to connect to it from your phone, your laptop, or even a friend's computer means you keep full control. This kind of freedom really opens up what you can do with your Pi, and you don't need any fancy subscriptions or expensive services to make it happen, which is nice.
So, if you're ready to get more out of your Raspberry Pi and stretch its capabilities across the globe, or just across town, you're in the right spot. We'll walk through some popular, no-cost methods that let you reach your Pi over the web, making sure you understand each step. It's actually quite a rewarding feeling when you connect to your little machine from far away, you know, and see it respond.
Table of Contents
- Why Remote Access Matters for Your Pi
- What You'll Need to Get Started
- Method 1: SSH – The Command Line Friend
- Method 2: VNC – For a Visual Desktop
- Method 3: Ngrok – A Quick Tunnel to Your Pi
- Method 4: ZeroTier or Tailscale – Private Network Magic
- Keeping Your Remote Connection Safe
- Solving Common Connection Problems
- Tips for a Smooth Remote Experience
Why Remote Access Matters for Your Pi
Having the ability to reach your Raspberry Pi from anywhere is, well, pretty handy. It means your projects don't have to stay tied to your desk. For instance, you could be on vacation and still check your home's smart lights, or maybe update a little script running on your Pi that monitors your garden's soil moisture. It's all about freedom and flexibility, really.
A big plus is that you don't need a separate monitor, keyboard, or mouse hooked up to your Pi all the time. This saves space and lets your Pi live in out-of-the-way spots. Plus, if something goes wrong, you can often fix it without even being in the same room, which is a real time-saver, you know, especially if your Pi is in a tricky spot.
For those running servers or automated tasks, remote access is pretty much essential. It helps you keep things running smoothly, perform updates, or even restart services if needed. So, yeah, it's a very practical skill to have, and it makes your Raspberry Pi a much more powerful tool, actually.
- Morgan Wallen Setlist Miami
- %D9%83%D9%85 %D8%A7%D9%84%D9%85%D8%B3%D8%A7%D9%81%D8%A9 %D8%A8%D9%8A%D9%86 %D8%A7%D9%8A%D8%B1%D8%A7%D9%86 %D9%88%D8%A7%D8%B3%D8%B1%D8%A7%D8%A6%D9%8A%D9%84
- Benny Blanco Net Worth
- As The World Caves In Song Meaning
- Qatar Airways Iran Flights
What You'll Need to Get Started
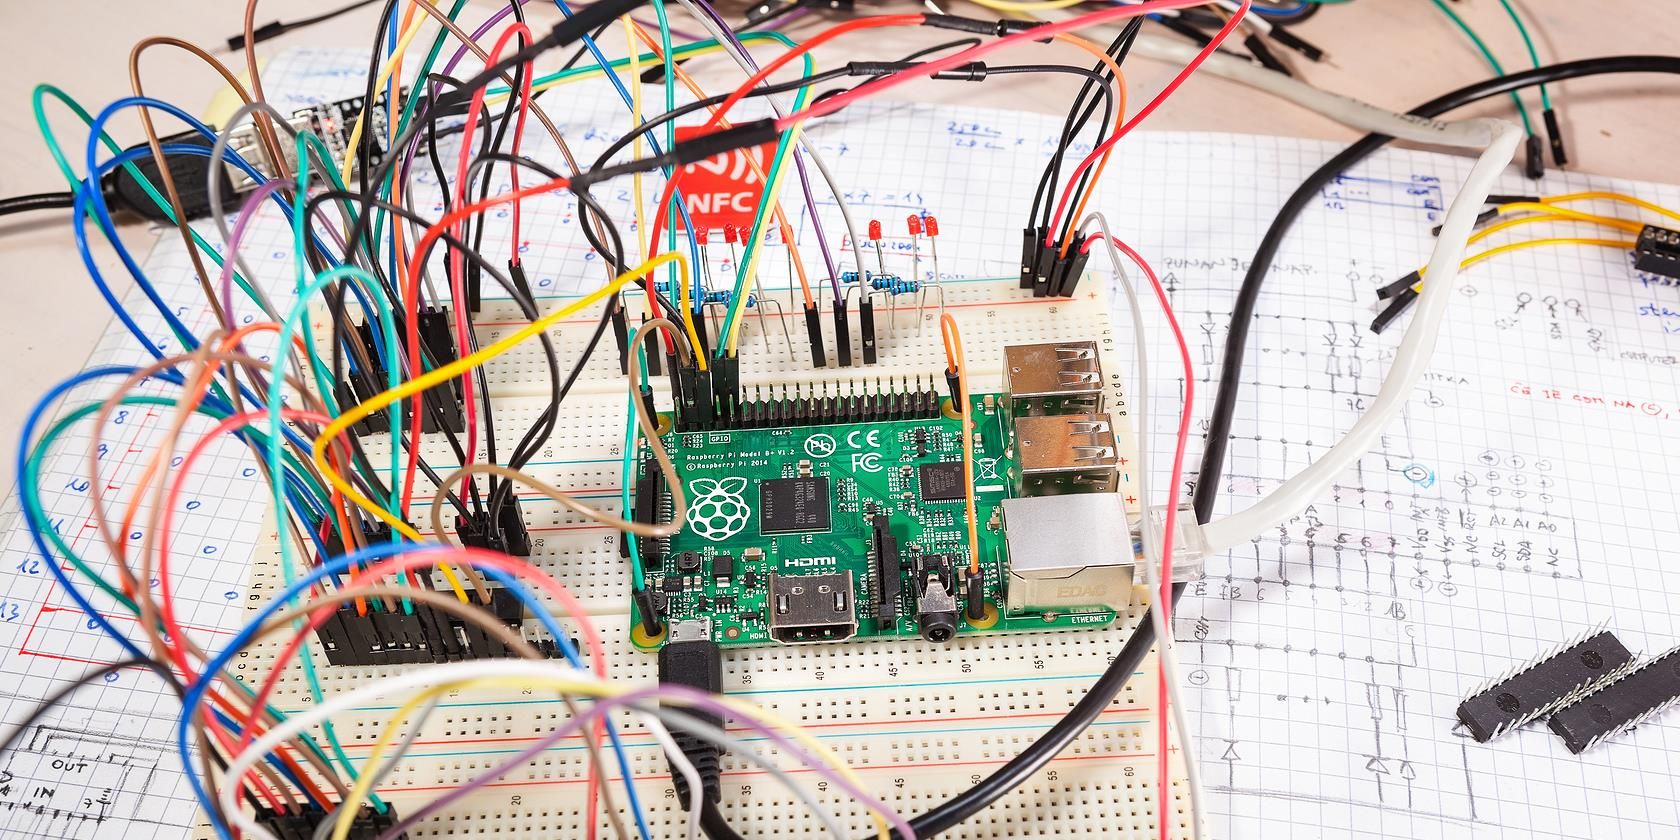
Before we jump into the fun stuff, let's make sure you have a few basic things ready. You'll need your Raspberry Pi, of course, with its operating system already installed and updated. A good internet connection for both your Pi and the device you'll be using to connect from is also very important.
You'll want a way to initially connect to your Pi, perhaps with a monitor and keyboard, or by using SSH on your local network first. This initial setup is usually just a one-time thing. Also, make sure you know your Pi's local IP address; you can often find this by typing `hostname -I` into the terminal on your Pi, which is quite useful.
Finally, a little patience helps, as does a willingness to try things out. We're going to cover a few different ways to get this done, and some might work better for your specific home network setup than others. But don't worry, we'll walk through it all, and it's definitely doable.
Method 1: SSH – The Command Line Friend
SSH, which stands for Secure Shell, is a really common way to access your Raspberry Pi remotely. It gives you a text-based command line interface, just like you were sitting right in front of your Pi. It's very secure and lightweight, so it's a favorite for many users.
Setting Up SSH on Your Pi
First things first, you need to turn on SSH on your Raspberry Pi. If you're using Raspberry Pi OS, it's pretty simple. You can do this through the Raspberry Pi Configuration tool under the "Interfaces" tab, just check the box next to SSH, and then click OK. That's one way, anyway.
Alternatively, you can open a terminal window on your Pi and type `sudo raspi-config`. From there, go to "Interface Options" and then "SSH," and choose "Yes" to enable it. This method is also quite straightforward, and it gets the job done.
After enabling SSH, it's a good idea to make sure your Pi's software is up-to-date. In the terminal, type `sudo apt update` and then `sudo apt upgrade`. This keeps everything fresh and ready, which is always a good practice, you know.
Connecting with SSH from Another Computer
Once SSH is active on your Pi, you can connect from another computer. If you're using a Linux or macOS machine, just open your terminal. For Windows users, you can use PowerShell or the Command Prompt, since Windows 10 and newer versions have SSH built in, which is pretty handy.
The command you'll use is `ssh pi@your_pi_ip_address`. Replace `your_pi_ip_address` with the actual IP address of your Raspberry Pi on your local network. The first time you connect, you might get a message asking to confirm the connection; just type "yes." Then, it will ask for your Pi's password, which is "raspberry" by default unless you've changed it.
To access it over the internet, you'll need to deal with your router's settings, which usually means setting up port forwarding. This tells your router to send incoming SSH requests (typically on port 22) to your Pi's local IP address. However, this method can be a bit tricky with some internet providers, and it does expose your Pi to the internet, so you need to be careful with security, obviously.
Method 2: VNC – For a Visual Desktop
If you prefer seeing your Pi's graphical desktop rather than just a command line, VNC (Virtual Network Computing) is a fantastic option. It lets you see and control your Pi's desktop environment as if you were sitting right in front of it, which is very cool.
Installing and Configuring VNC Server on Your Pi
Most Raspberry Pi OS versions come with RealVNC Connect pre-installed, or at least the VNC Server component. You can enable it in the same way you enabled SSH: go to Raspberry Pi Configuration, then "Interfaces," and check the box for VNC. This is often the easiest way to get it going.
If it's not there, you can install it from the terminal with `sudo apt install realvnc-vnc-server`. After installation, you'll want to configure it. RealVNC has a free tier for personal use that lets you connect directly without port forwarding, using their cloud service. You'll need to create a RealVNC account and sign in on your Pi's VNC Server application, which is a pretty simple process.
Once signed in, your Pi will show up in your RealVNC account, ready for a connection. This cloud-based approach really simplifies remote access, especially for those who don't want to mess with router settings, and it's free for up to 5 devices, which is usually plenty for personal use.
Accessing Your Pi with VNC Viewer
To connect to your Pi, you'll need the VNC Viewer application on the device you're connecting from. RealVNC offers VNC Viewer for pretty much every operating system, including Windows, macOS, Linux, Android, and iOS. Just download and install the right version for your device, you know.
Open VNC Viewer and sign in with the same RealVNC account you used on your Pi. Your Raspberry Pi should appear in your list of devices. Just click on it, enter your Pi's username and password (again, "pi" and "raspberry" by default), and you should see your Pi's desktop appear. It's almost like magic, really.
This method is super convenient because it bypasses the need for complex network setups like port forwarding. It's a very user-friendly way to get a full graphical experience from your Pi, and it works pretty reliably, too.
Method 3: Ngrok – A Quick Tunnel to Your Pi
Ngrok is a service that creates a secure tunnel from the internet to your local machine, even if it's behind a firewall or NAT. This means you don't need to configure your router, which is a huge benefit for many people. It has a free tier that's perfect for quick access or testing, so it's a good option for accessing Raspberry Pi remotely over internet free.
Getting Ngrok on Your Pi
First, you'll need to sign up for a free account on the Ngrok website. Once you've signed up, they'll give you an authentication token. Keep this token handy, as you'll need it soon. It's a unique string of characters that links your Pi to your Ngrok account, so it's important.
Next, download the Ngrok client for ARM processors (which is what the Raspberry Pi uses). You can usually find the download link on your Ngrok dashboard after signing in. Use `wget` to download it directly to your Pi, then unzip the file. For instance, `wget https://bin.equinox.io/c/4VmDzA7iaHb/ngrok-stable-linux-arm.zip` and then `unzip ngrok-stable-linux-arm.zip`.
After unzipping, you need to add your authentication token. In the terminal on your Pi, type `./ngrok authtoken YOUR_AUTH_TOKEN`, replacing `YOUR_AUTH_TOKEN` with the one you got from the Ngrok website. This sets up Ngrok to work with your account, which is pretty straightforward.
Making a Tunnel with Ngrok
Now that Ngrok is set up, you can create a tunnel to a service running on your Pi. For SSH access, you'd typically run `./ngrok tcp 22` in your Pi's terminal. This creates a public address that forwards to port 22 (SSH) on your Pi. Ngrok will then show you a URL and port number, something like `tcp://0.tcp.ngrok.io:12345`.
You can then use this address to SSH into your Pi from anywhere. For example, `ssh -p 12345 pi@0.tcp.ngrok.io`. If you want to access a web server running on your Pi (say, on port 80), you'd use `./ngrok http 80`. Ngrok will give you an HTTP URL that you can visit in your web browser.
Keep in mind that the free Ngrok tier gives you a random URL each time you start the tunnel, and the tunnel closes when you close the Ngrok client. For a persistent address, you'd need a paid plan, but for free, on-demand access, it's really useful, honestly.
Method 4: ZeroTier or Tailscale – Private Network Magic
ZeroTier and Tailscale are fantastic tools that create a virtual private network (VPN) between your devices, making them act as if they're all on the same local network, no matter where they are in the world. This is a very secure and flexible way to access your Raspberry Pi remotely over the internet free, and it's often simpler than port forwarding.
Setting Up a Virtual Network
For both ZeroTier and Tailscale, you'll start by creating a free account on their respective websites. Once you have an account, you'll create a new network. This network will have a unique ID, which is how your devices will find each other. It's almost like setting up your own private internet, in a way.
On your Raspberry Pi, you'll install the client software for either ZeroTier or Tailscale. For ZeroTier, you might use a command like `curl -s https://install.zerotier.com | sudo bash` to install it, then `sudo zerotier-cli join YOUR_NETWORK_ID`. For Tailscale, it's usually `curl -fsSL https://tailscale.com/install.sh | sh` and then `sudo tailscale up`.
After joining the network, you'll need to authorize your Pi from the web interface of ZeroTier or Tailscale. This step confirms that your Pi is allowed to be part of your private network, which is a good security measure, obviously.
Connecting Your Devices to the Network
Now, install the ZeroTier or Tailscale client on any other device you want to use to connect to your Pi (your laptop, phone, etc.). Join these devices to the same network ID you created earlier. Once all your devices are connected and authorized, they'll be able to communicate directly using their virtual IP addresses.
This means you can SSH into your Pi using its virtual IP address (e.g., `ssh pi@10.147.17.x`), or even use VNC, just as if your Pi was sitting right next to you on your home network. The beauty of this method is that it handles all the tricky firewall and NAT traversal for you, so you don't have to worry about router settings at all.
The free tiers for both ZeroTier and Tailscale are pretty generous, allowing enough devices for most personal projects. They provide a very secure and reliable way to get remote access, and it's definitely a preferred method for many people who value simplicity and security, you know.
Keeping Your Remote Connection Safe
When you open your Raspberry Pi to the internet, even with free tools, security becomes a very big deal. You want to protect your Pi from unwanted visitors. The very first thing you should always do is change the default password for the 'pi' user. Just type `passwd` in the terminal and follow the instructions. Make it a strong, unique password, which is super important.
Consider setting up SSH key-based authentication instead of using passwords. This is a much more secure way to log in. It involves generating a pair of cryptographic keys: a public key that goes on your Pi and a private key that stays on your connecting device. It's a bit more involved to set up, but it really boosts your security, actually.
Also, keep your Raspberry Pi's software updated regularly by running `sudo apt update` and `sudo apt upgrade`. These updates often include security patches that fix known weaknesses. If you're using port forwarding, consider changing the default SSH port (22) to a less common one to deter automated scanning attempts, which is a fairly common practice.
If you're using Ngrok, remember that the free URLs are temporary, which adds a layer of security by making it harder for someone to find your Pi consistently. For ZeroTier or Tailscale, the virtual private network itself provides a lot of security, as only authorized devices can even see your Pi on that network, which is very reassuring.
Solving Common Connection Problems
Sometimes, things don't work perfectly the first time, and that's okay. If you're having trouble connecting to your Raspberry Pi remotely, there are a few common things to check. First, make sure your Pi is actually on and connected to the internet. A simple reboot of your Pi can sometimes fix temporary network glitches, you know.
Double-check the IP address or the Ngrok/VPN address you're using. Typos are a very common source of frustration. Also, confirm that the service you're trying to reach (SSH, VNC) is actually running on your Pi. For example, you can use `sudo systemctl status ssh` to see if the SSH service is active, which is quite helpful.
If you're using port forwarding, make sure your router settings are correct and that your ISP isn't blocking the port you're trying to use. Some internet providers block common ports like 22 or 80. You might need to pick a different port number in your router settings and on your connecting device, which is something to consider.
For VNC, ensure that the VNC server is running and that you're using the correct display number if you have multiple VNC sessions. With Ngrok, make sure the Ngrok client is still running on your Pi and hasn't crashed or been closed. And for ZeroTier/Tailscale, check that all devices are properly joined and authorized on the virtual network, as a matter of fact.
Tips for a Smooth Remote Experience
To make your remote access as smooth as possible, there are a few little tricks you can use. Consider giving your Raspberry Pi a static IP address on your local network. This means its IP address won't change, which makes setting up port forwarding or remembering its address much simpler. You can usually do this in your router's settings, or directly on the Pi, you know.
If you're using a dynamic DNS service (DynDNS, No-IP, etc.), this can give your home network a consistent hostname, even if your public IP address changes. Many routers have built-in support for these services, which can be pretty convenient if you're not using a VPN solution like ZeroTier, honestly.
For VNC, you might want to adjust the resolution of the remote desktop session to match your connecting device, or to a lower resolution if your internet connection isn't super fast. A lower resolution means less data needs to be sent, which can make the experience feel much snappier, you know, especially over slower connections.
Always close your remote sessions when you're done. Leaving SSH or VNC connections open unnecessarily can be a security risk and might consume resources on your Pi. A little bit of discipline here goes a long way. And remember to keep your Pi cool; a stable temperature helps it run reliably, which is always a good thing.
To learn more about setting up your Raspberry Pi for various projects, you can explore our resources on Raspberry Pi basics. If you're interested in other ways to manage your devices from afar, you might also find useful information on remote system administration on our site.
For more general information about the Raspberry Pi and its capabilities, you can visit the official Raspberry Pi website, which is a great place to get started and find project ideas.
- Sophie Rain Leaked Nudes
- Imskirby The Dog Incident
- The Enigmatic Journey Of Theo James A Star In The Making
- Ripped Reiley
- Iran President Vs Supreme Leader

How to Remotely Access a Raspberry Pi From Your PC
How to Directly Connect to a Raspberry Pi Without Internet

how to access Raspberry Pi remotely | MaidaTech
