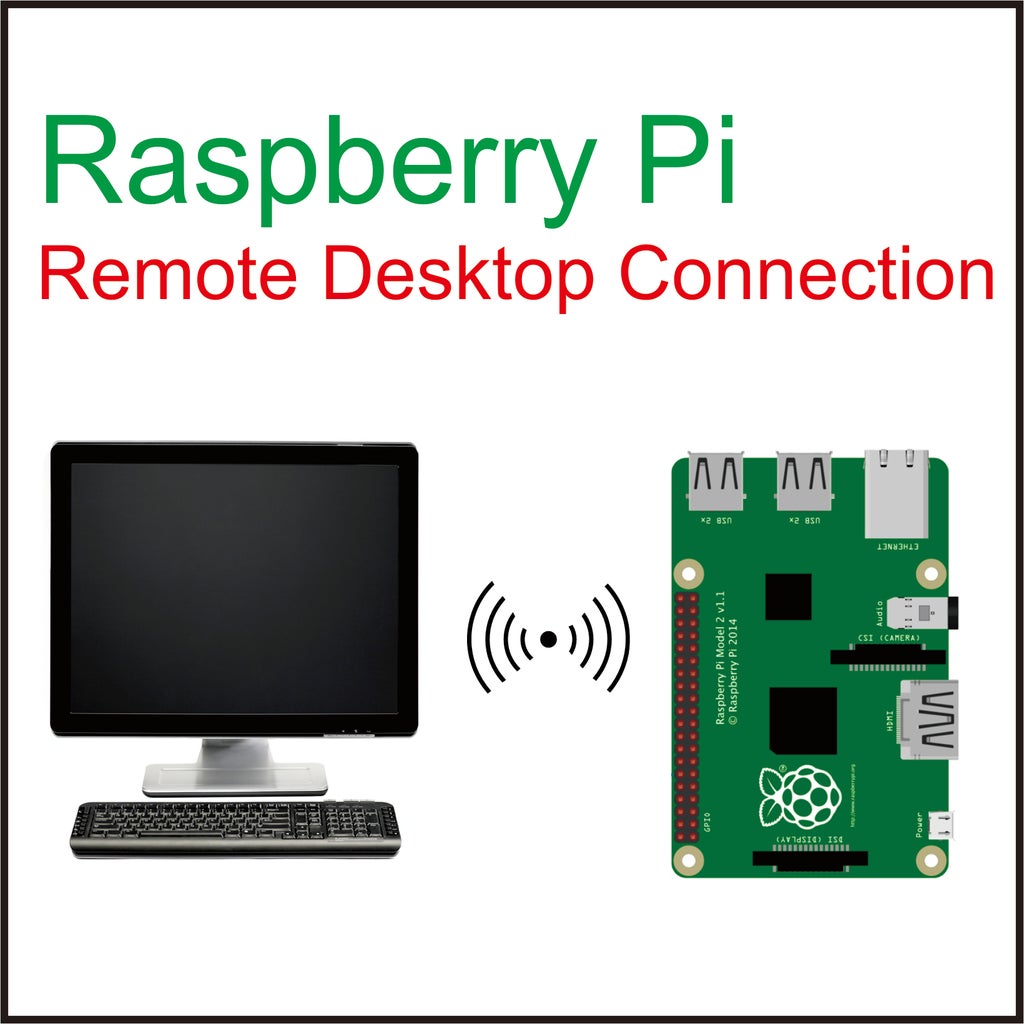
Connect From Afar: How To Establish Remote Access Connection With Raspberry Pi
Imagine being able to work with your Raspberry Pi from any spot, without needing to plug in a monitor, keyboard, or mouse. That, is that, truly helpful, because it gives you a lot of freedom. You can, in a way, put your small computer almost anywhere and still have full control over it. This ability to connect from a distance helps you get things done, whether your Pi is in another room or even in another building, making it quite a valuable skill to pick up. When we talk about how to establish remote access connection with Raspberry Pi, we mean setting up a reliable way to manage your device, making it a permanent part of your project toolkit.
Having a Raspberry Pi is a lot of fun, and it can do so many interesting things, like running a small server for your home or powering a weather station in your garden. Yet, there are times when you just cannot be right there with it. Maybe it is tucked away in a hard-to-reach spot, or perhaps you are just across town and need to check on something quickly. Being able to reach your Pi remotely makes all these situations much easier, giving you the flexibility you might really need.
This guide will walk you through the ways you can set up a link to your Raspberry Pi, letting you manage it from a distance. We will look at different methods, each with its own good points, so you can pick the one that fits your situation best. By the time we finish, you will have a solid understanding of how to establish remote access connection with Raspberry Pi, allowing you to stay connected and in charge, no matter where you are.
Table of Contents
- Understanding Remote Access for Your Raspberry Pi
- Before You Start: Getting Ready
- Method 1: Command-Line Control with SSH
- Method 2: Seeing Your Desktop with VNC
- Method 3: Creating a Secure Tunnel with a VPN
- Accessing Your Pi from Outside Your Home Network
- Keeping Your Remote Connection Safe
- Frequently Asked Questions About Remote Pi Access
- Your Next Steps with Remote Pi Control
Understanding Remote Access for Your Raspberry Pi
When you want to control your Raspberry Pi from a different computer, that is what we call remote access. It means you are, more or less, sending commands or viewing its screen over a network, rather than sitting right in front of it. This idea is about setting up a connection that works well and stays in place, letting you interact with your Pi as if you were physically connected. It is, you know, about making sure you can "establish" that link, making it firm and dependable for whenever you need it.
Think of it like this: your Raspberry Pi is a tiny computer that can be put to work on all sorts of projects. Sometimes, you might want it to run without a screen or keyboard, like a small server or a home automation hub. Remote access allows you to do just that, giving you the ability to check on its status, make changes, or even start new tasks from another device, perhaps your laptop or even your phone. It is, in a way, very convenient.
The goal is to create a pathway, a kind of digital bridge, between your main computer and your Raspberry Pi. This bridge lets information travel back and forth, giving you command. It is about making sure that link is there when you need it, and that it is secure enough so only you, or people you trust, can use it. So, you can, like, truly establish that remote access connection with Raspberry Pi, making it a reliable part of your setup.
- Pok%C3%A9mon Odyssey
- Mysterious Skin Bathroom
- Ripped Reiley
- Iran President Vs Supreme Leader
- Qatar Airways Iran Flights
Before You Start: Getting Ready
Before you begin setting up any remote connection, there are a few simple things to check on your Raspberry Pi. These steps help make sure everything runs smoothly and that you can find your Pi on your network. It is, you know, a bit like preparing the ground before you plant something; you want to make sure the conditions are right for things to grow.
Making Sure Your Pi Is Up-to-Date
It is a good idea to update your Raspberry Pi's software before doing anything else. This makes sure you have the newest versions of programs and any important security fixes. To do this, you will need to connect a keyboard and screen to your Pi for this first bit, or use a local SSH connection if you have one already. Open a terminal window and type these commands, one after the other, and press Enter after each:
sudo apt updatesudo apt full-upgrade -ysudo reboot
The first command checks for new software lists, and the second one brings all your installed software to its latest version. The last command restarts your Pi, which is pretty important after a big update, so everything takes effect. This really helps to establish a good base for your remote connection.
Finding Your Pi's Local Address
To connect to your Raspberry Pi from another device on your home network, you need to know its local IP address. This is like its street address within your home network. You can find this by opening a terminal on your Pi and typing: hostname -I. This command will show you a series of numbers, which is your Pi's local IP address, usually starting with something like 192.168.1.X or 10.0.0.X. Write this down, because you will need it quite often. This address is how your other devices will locate your Pi, so it is rather important to know.
Method 1: Command-Line Control with SSH
SSH, which stands for Secure Shell, is a very popular way to get remote access to your Raspberry Pi. It lets you use the command line on your Pi from another computer, which is super handy for running programs, changing settings, or doing pretty much anything you would do if you were typing directly on the Pi. It is a text-based way to interact, so you do not need a graphical desktop. This method is often the first one people try when they want to establish remote access connection with Raspberry Pi because it is quite straightforward to set up.
Turning On SSH
On newer versions of Raspberry Pi OS, SSH might not be turned on by default for security reasons. You have a few ways to turn it on:
Option A: Using the Raspberry Pi Configuration Tool (Graphical Desktop)
- Connect a screen and keyboard to your Pi.
- Go to the main menu, then Preferences, and pick "Raspberry Pi Configuration."
- Click on the "Interfaces" tab.
- Find "SSH" and make sure the radio button next to it is set to "Enabled."
- Click "OK."
Option B: Using the Terminal (Command Line)
- Open a terminal on your Pi.
- Type
sudo raspi-configand press Enter. - Use your arrow keys to go down to "Interface Options" and press Enter.
- Select "SSH" and press Enter.
- Choose "Yes" to enable the SSH server and press Enter.
- Select "Finish" and press Enter. You might be asked to reboot; say "Yes."
Option C: Headless Setup (Before First Boot)
If you are setting up a brand-new Pi without a screen, you can enable SSH before you even turn it on for the first time. After you have put Raspberry Pi OS onto your SD card, put the card back into your computer. You will see a partition called 'boot'. On this 'boot' partition, create an empty file named `ssh` (no file extension). That is it! When you boot your Pi with this SD card, SSH will be enabled automatically. This is a very common way to establish a first remote connection for headless setups.
Connecting with SSH
Once SSH is on, you can connect from another computer. The way you connect depends on what kind of computer you are using:
From Linux or macOS:
Open a terminal window and type:
ssh pi@YOUR_PI_IP_ADDRESS
Replace `YOUR_PI_IP_ADDRESS` with the actual IP address you found earlier (e.g., `ssh pi@192.168.1.100`). The first time you connect, you might get a message asking if you want to continue connecting; type `yes` and press Enter. Then, it will ask for your Pi's password (the default is `raspberry` unless you changed it). Once you type it in, you will be connected to your Pi's command line. It is, you know, pretty straightforward.
From Windows:
Newer versions of Windows (Windows 10 and 11) have SSH built-in. Open a Command Prompt or PowerShell window and use the same command as for Linux/macOS: `ssh pi@YOUR_PI_IP_ADDRESS`. If you have an older Windows version, or if you prefer a dedicated tool, you can use a program called PuTTY. Download PuTTY, open it, enter your Pi's IP address in the "Host Name (or IP address)" field, make sure the port is 22 and the connection type is SSH, then click "Open." A terminal window will pop up asking for your username and password. This is, like, a very common way to go about it.
Keeping SSH Secure
To make your SSH connection safer, it is a good idea to change the default password for your Pi. You can do this by typing `passwd` in the Pi's terminal and following the prompts. Also, for even better security, you can set up SSH key-based authentication. This means you use a special digital key instead of a password, which is much harder for someone to guess. It is a bit more involved to set up, but it really makes your connection strong. You can learn more about SSH key setup on our site, which helps to establish a very secure link.
Method 2: Seeing Your Desktop with VNC
If you prefer to see and interact with your Raspberry Pi's graphical desktop environment, just like you would if you had a monitor plugged in, then VNC (Virtual Network Computing) is the way to go. This is great for projects that need a visual interface, like browsing the web on your Pi, using certain applications, or just getting a feel for the desktop. It is a very visual way to establish remote access connection with Raspberry Pi.
Setting Up VNC Server on the Pi
The Raspberry Pi OS comes with RealVNC Connect pre-installed, which makes setting it up pretty simple. If you are using a different version of the OS or it is not there, you might need to install it first. Assuming it is there:
Option A: Using the Raspberry Pi Configuration Tool (Graphical Desktop)
- Connect a screen and keyboard to your Pi.
- Go to the main menu, then Preferences, and pick "Raspberry Pi Configuration."
- Click on the "Interfaces" tab.
- Find "VNC" and make sure the radio button next to it is set to "Enabled."
- Click "OK."
Option B: Using the Terminal (Command Line)
- Open a terminal on your Pi.
- Type
sudo raspi-configand press Enter. - Use your arrow keys to go down to "Interface Options" and press Enter.
- Select "VNC" and press Enter.
- Choose "Yes" to enable the VNC server and press Enter.
- Select "Finish" and press Enter. You might be asked to reboot; say "Yes."
Once VNC is enabled, you might see a small VNC icon in your Pi's taskbar. Clicking it will show you the VNC server's IP address and port number, which you will need for connecting. You will also be prompted to set a password for VNC connections, which is different from your Pi's login password. Make sure to set a strong one.
Getting the VNC Viewer on Your Computer
To see your Pi's desktop, you need a VNC viewer program on the computer you are connecting from. RealVNC offers a free VNC Viewer that works on Windows, macOS, Linux, and even mobile devices. Go to the RealVNC website and download the viewer that fits your system. Install it just like any other program. This viewer is what lets you, you know, actually see and control your Pi's screen.
Making a VNC Connection
Open the VNC Viewer program on your computer. You will typically see a field where you can enter the IP address of your Raspberry Pi, followed by the port number if it is not the default (e.g., `192.168.1.100:5900`). Enter your Pi's IP address and press Enter. The viewer will then ask for the VNC password you set up on your Pi. Type it in, and if everything is right, you will see your Raspberry Pi's desktop appear on your screen. It is, like, pretty cool to see it pop up. You can then use your mouse and keyboard to interact with it just as if you were sitting in front of it. This is a very direct way to establish a visual remote access connection with Raspberry Pi.
Method 3: Creating a Secure Tunnel with a VPN
For a more secure and versatile way to access your Raspberry Pi, especially when you are away from home, setting up a VPN (Virtual Private Network) server on your Pi is a very good option. A VPN creates a secure, encrypted "tunnel" over the internet, making it seem like your remote device is actually part of your home network. This means you can access not just your Pi, but other devices on your home network, all while keeping your connection private. It is a much more comprehensive way to establish remote access connection with Raspberry Pi, offering a lot of security.
Why Use a VPN for Your Pi?
Using a VPN offers several advantages:
- Enhanced Security: All data traveling through the VPN tunnel is encrypted, protecting it from prying eyes. This is a big deal when you are connecting over public Wi-Fi.
- Full Network Access: Once connected to your Pi's VPN, your remote device acts as if it is physically on your home network. This means you can access other devices, like network-attached storage or other smart home gadgets, without needing to set up individual port forwards for each.
- Bypassing Restrictions: Some public networks might block certain ports or services. A VPN can help you get around these restrictions.
It is, you know, a pretty robust solution for remote connectivity.
Setting Up a VPN Server on Your Pi
Setting up a VPN server on your Raspberry Pi can be a bit more involved than SSH or VNC, but there are tools that make it much easier. OpenVPN is a popular choice, and there are scripts available that automate most of the setup process. For instance, a script like PiVPN can help you set up an OpenVPN or WireGuard server on your Pi with just a few commands. This can be a bit of a project in itself, but it is very rewarding. You will need to run the script, answer a few questions about your setup, and it will handle the rest. This truly helps to establish a secure and lasting network connection.
A typical setup might involve:
- Installing the PiVPN script:
curl -L https://install.pivpn.io | bash - Following the on-screen prompts, which will guide you through choosing a VPN protocol (OpenVPN or WireGuard), setting up DNS, and generating client configuration files.
- Creating a new VPN client profile for each device you want to connect remotely.
This process will create configuration files that you then transfer to your client devices. It is, like, a bit of work, but the payoff is worth it.
Connecting to Your Pi VPN
Once your VPN server is running on your Pi and you have generated client configuration files, you will need a VPN client application on your remote device. For OpenVPN, you would use the OpenVPN Connect app. For WireGuard, you would use the WireGuard app. Import the configuration file you created on your Pi into the client app. Once imported, you can simply click "Connect," and your device will form a secure tunnel to your Raspberry Pi, making it appear as if you are on your home network. This is a very powerful way to establish remote access connection with Raspberry Pi, giving you widespread access.
Accessing Your Pi from Outside Your Home Network
The methods we have discussed so far (SSH, VNC, VPN) work great when you are on the same local network as your Raspberry Pi. But what if you are at a coffee shop, or a friend's house, and want to connect to your Pi at home? This requires a few extra steps to make your Pi reachable from the wider internet. This is, you know, where things get a bit more involved, but it is very possible.
Port Forwarding: A Quick Look
To access your Pi from outside your home, you typically need to set up something called "port forwarding" on your home router. Think of your router as a security guard at the entrance to your home network. When a request comes from the internet, the router needs to know which internal device to send it to. Port forwarding tells the router, "If a request comes in on this specific 'port' (a number), send it to this specific device (your Pi's local IP address) on this other port." For example, SSH uses port 22, VNC often uses port 5900, and OpenVPN uses port 1194. You will log into your router's settings (usually through a web browser) and find the "Port Forwarding" section. Here, you will create rules to direct traffic to your Pi. It is, like, a pretty common thing to do for remote access.
A word of caution: opening ports on your router can make your home network more open to unwanted access. It is very important to make sure your Pi is secure with strong passwords and updated software if you go this route. This step is rather important for truly establishing an external remote connection.
Dynamic DNS for Changing Addresses
Most home internet connections have what is called a "dynamic IP address," meaning your internet service provider (ISP) can change your home's public IP address at any time. This makes it tricky to connect remotely, because the address you used yesterday might not work today
- Does Lol Superman Exist
- Bomb Iran Vince Vance
- Was The Shah Of Iran A Good Leader
- Agentredgirl
- Eliza Leaks

How to Remote Connect to a Windows PC From a Raspberry Pi
Raspberry Pi - Remote Desktop Connection - Instructables

How to Setup Raspberry Pi Remote Desktop (5 Methods)
